


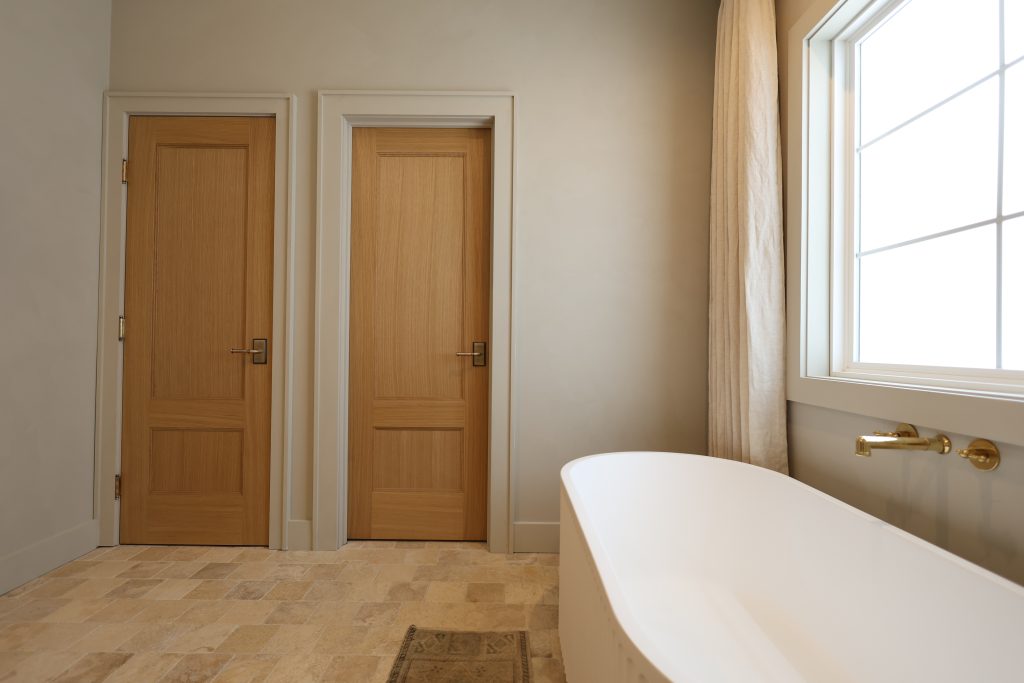
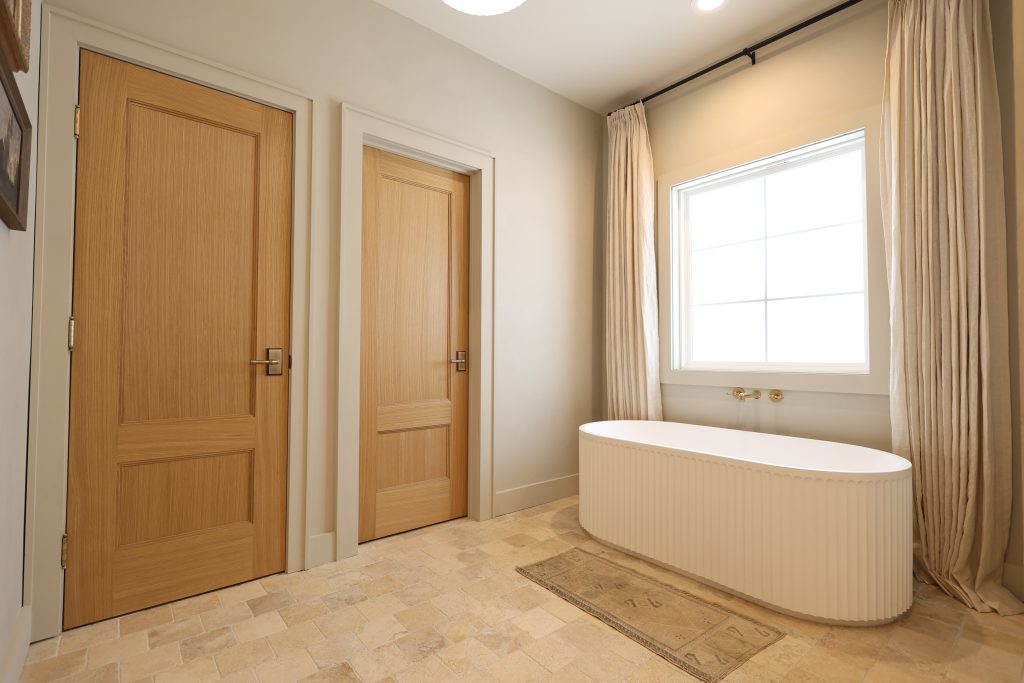
How to Install an Interior Door
Your new pre-hung interior door is ready to complement your home. With this easy step-by-step guide, we hope you’ll feel confident to install your doors, making your home your own!
If you’re a visual learner, check out the quick video above with our partner Cottage & Key as they install one of our interior doors.
You can find the full list of tools at the end of this guide.
Step 1: Receive the Door
Note: If you’re buying your door stock and taking it home from the store, you can skip this step!
Remove the packaging materials from your door and inspect to make sure it is the correct size, color, and product. Note that pre-hung door frames extend below the door slab to allow for different floor covering heights. Trim the jambs with a saw if needed before installation.
Tools Recommended: tape measure
Warranty Tip: Inspect for damage as soon as you receive your shipment! If you see damage, report it within 4 days of delivery.
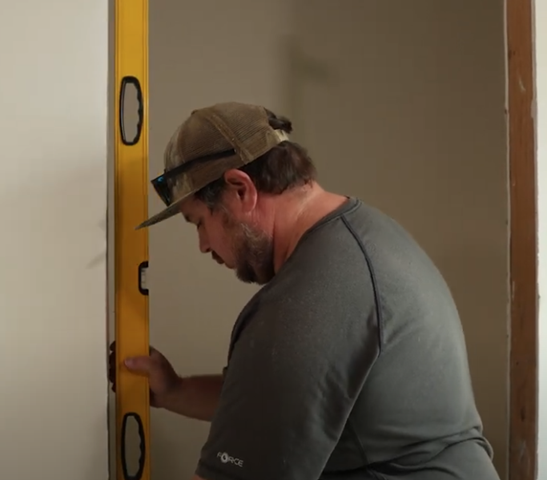
Step 2: Inspect Rough Opening
Check to make sure the rough opening is square and level and plumb. Ensure your rough opening is at least 1” wider and ½” higher than the pre-hung door unit.
Tools Recommended: framing square, level
Step 3: Shim Hinge Side Jamb
Place the door in the center of the opening. Determining the number of shims to fill in the space on the hinge side. Remove the door and then nail the shims to the rough opening at each hinge, ensuring the jamb is plumb.
Tools Recommended: wood shims, level
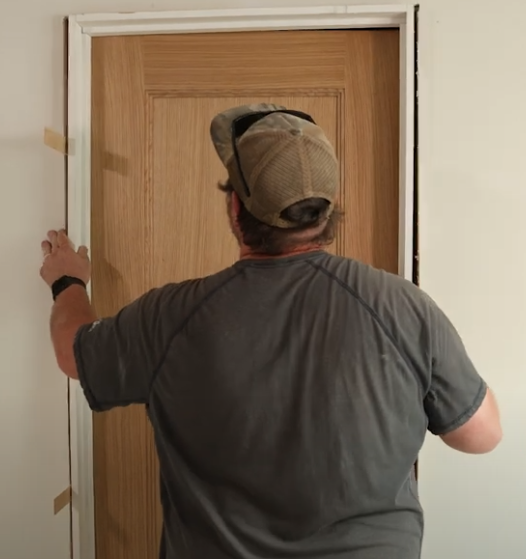
Step 4: Place Door Unit
Center the pre-hung door into the rough opening. Make sure the handing is in the correct direction!
Step 5: Check Jamb is Flush
Using your square, check the jamb is flush with the rough opening. Don’t skip this step!
Tools Recommended: framing square

Step 6: Secure Hinge Side Jamb
Using 10 penny finishing nail, nail through the hinge side jamb and shims at each hinge height, ensuring the frame is square and plumb.
Tools Recommended: finishing nails and hammer with nail set or nail gun, level

Step 7: Shim Latch Side Jamb
Just as you did to the hinge side in step 3, now shim the latch side jamb. Check the door is plumb.
Tools Recommended: wood shims, level
Step 8: Check Jamb is Flush
Using your square, check the jamb is flush with the rough opening. You can also do this by opening and closing the door. Again, don’t skip this step!
Tools Recommended: framing square
Step 9: Secure the Latch Side Jamb
On the latch side of the frame, shim and nail in the same process as the hinge side. We recommend also nailing 6” from the top and 6” from the bottom as well as the strike. Use additional shims as needed behind each nail.
Tools Recommended: finishing nails and hammer with nail set or nail gun, level
Optional: Secure the Head Jamb
You can also secure the head jamb with the shims and nails. Position the shims between the rough opening and the head jamb, then nail through the jamb using the 10-penny finishing nails.
Tools Recommended: wood shims, finishing nails and hammer with nail set or nail gun, level
Step 10: Trim Shims
Score and snap all shims or use a saw to easily trim the wood shims.
Tools Recommended: utility knife or saw
Step 11: Check Door Operation
Open and close the door a few times to make sure nothing has shifted, and the jamb is completely secure.
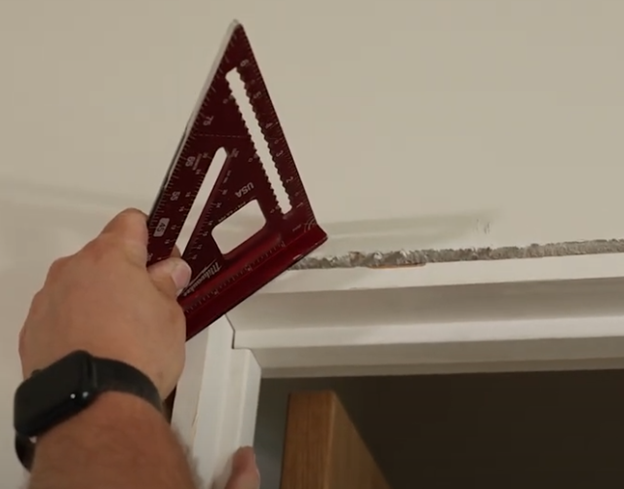
Step 12: Add Trim and Lockset
Install trim on both sides of the door jamb. Install lockset hardware according to the manufacturer instructions. You may want to countersink the nails in the trim, so use a hammer and nail set. Fill any nail or screw holes and sand smooth.
If your door is primed or unfinished, finish all six sides of the door slab as well as the jamb to your desired interior paint or stain color.
Tools Recommended: trim, finishing nails, nail gun or hammer with nail set, lockset, Philips head screwdriver, nail set, hammer, wood filler, sandpaper, finish of choice and paint brush
Full List of Recommended Tools
Below is the full list of recommended tools. Some tools are simply optional and based on your comfortability and preference.
- Hammer and 6 and 10 penny finishing nails
- Nail gun with 1-1/4in and 2-1/4in nails
- nail gun should be a finish nailer or will need to have the depth setting adjusted for finishing
- Nail set
- 24” level
- Philips head screwdriver
- 24” framing square
- Putty knife
- Tape measure
- Wood filler
- Sandpaper
- Wood shims
- Utility knife or saw
- Safety glasses
Need additional guidance? Here’s another video about installing interior doors.
