


How to Install an Exterior Door
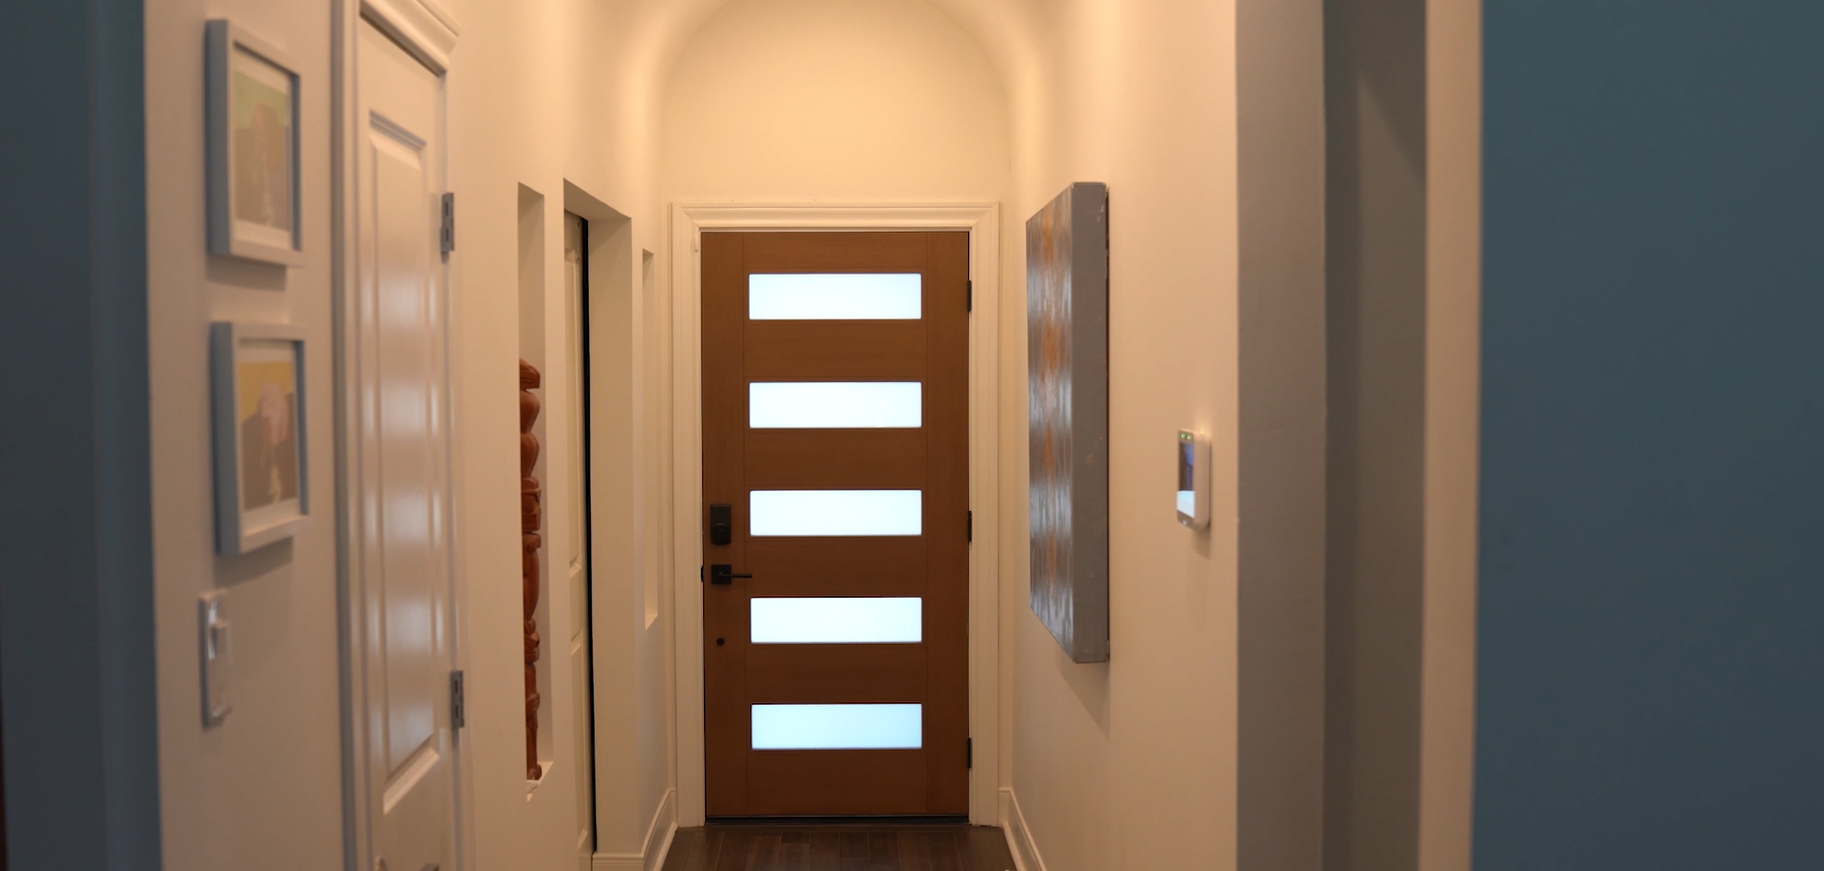
Updating your exterior door can breathe new life into your home. Whether your current door is old, damaged, or simply not your style anymore, a new door can transform your home’s curb appeal. At Steves Doors, we’ve made a living out of knowing the ins and outs of doors. So, believe us when we say that if you’re handy with household projects, you can tackle this installation yourself! With the right planning and preparation, we’ll guide you through this 12-step process of installing your new exterior door.
Step 1: Receive the Door
Note: If you’re buying your door stock and taking it home from the store, you can skip this step!
When your new door arrives, it will be on a pallet, so make sure you have enough space to work. Carefully remove all packaging and fasteners to inspect the door for any cosmetic or freight damage. This is also the perfect time to confirm that you received the correct product—check the style, size, color, handing, and swing. (It sounds silly, but no one wants to start installation, take the door off the pallet, and realize the carrier dropped off the wrong door!)
Tools Recommended: Tape measure
Warranty Tip: Check your door unit within 4 days of delivery!
Step 2: Prepare for Installation
Before diving into the installation, take a moment to familiarize yourself with the door’s warranty information and the installation instructions provided with your door. Each step of this guide, we’ll recommend certain tools to have on hand and you can find the full list at the end.
Keep in mind that this project will require two people for some steps and may take between 4 to 8 hours to complete.
Step 3: Remove the Old Door Unit
Start by removing the old door unit. Unscrew the hinges from the jamb to detach the door. A pry bar may be useful for removing the jamb, and an oscillating tool can help, depending on the existing door unit. Ensure the structural frame is clear of debris and that the framing is in good condition before moving forward.
Tools Recommended: Drill, pry bar, oscillating tool or Sawzall, safety goggles, broom
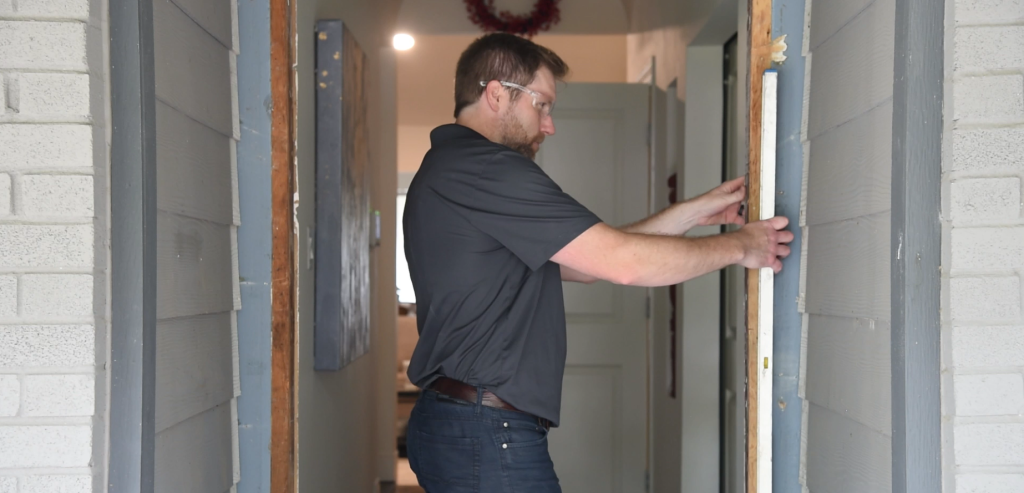
Step 4: Inspect the Rough Opening
Now it’s time to inspect your rough opening. Measure the height of the rough opening on both sides, and then measure the width at the top, center, and bottom. It’s crucial to ensure that the rough opening is level and plumb, meaning it should be perfectly horizontal and vertical. Also, check that the threshold is level and free from any debris.
Tools Recommended: Tape measure, 2-foot and 4-foot levels, putty knife, broom
Step 5: Install the Sill Pan
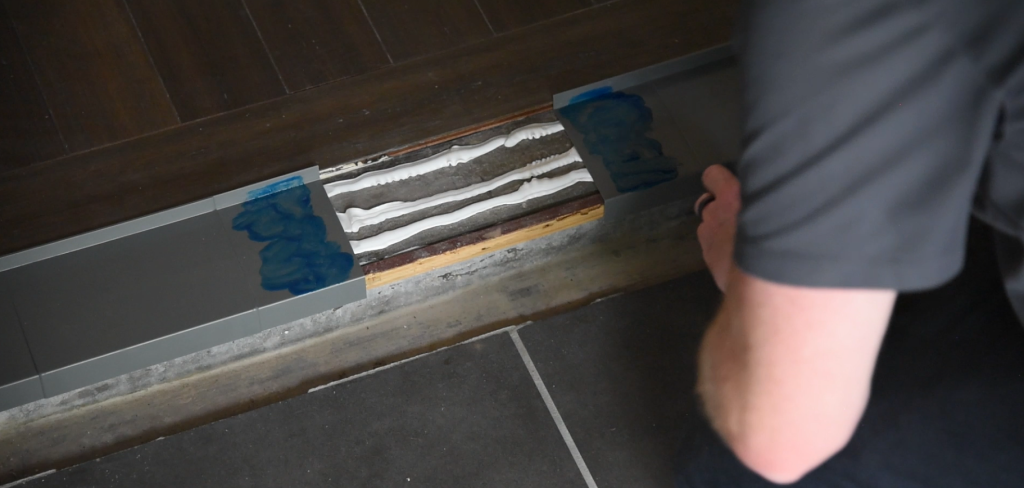
An essential part of installing your exterior door is the sill pan, which protects against water infiltration. The installation instructions for your specific sill pan will help you fit it correctly to your door’s configuration and size.
Tools Recommended: Sill pan, caulking gun, silicone caulk, finish nails, hammer, hack saw or metal snips (if needed), PVC cement, painter’s tape
Warranty Tip: Water intrusion can occur in rare cases, even with an overhang. Keep your warranty intact by installing a sill pan.
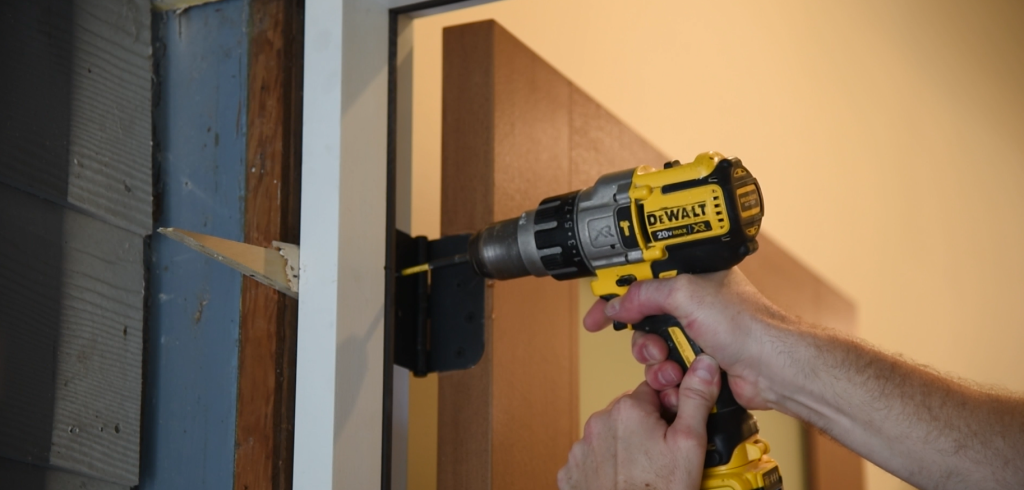
Step 6: Place the Door Unit and Secure
With the sill pan in place, it’s time to position the door. Place the bottom of the door in the center of the opening, then tilt the top into place. Use shims behind each hinge and, with a 4-foot level, ensure the side of the frame is plumb. Secure it in place using 2.5-inch trim screws through the jamb and shims into the stud at each hinge location. Don’t forget to secure two additional 2.5-inch screws at the top and bottom hinge!
Tools Recommended: Shims, 4-foot level, screwdriver or hammer, 2.5-inch trim screws or finish nails, (2) 2.5-inch screws (provided with your door)
Step 7: Secure the Lockset Jamb
Next, focus on the lockset jamb. Starting from the lockset side, use the 4-foot level again to ensure the jamb is plumb and square. Check the weatherstrip margins to ensure consistent contact with the door slab. Shim the latch side and secure it with 2.5-inch trim screws, making sure the gap between the frame and the door is even when viewed from the inside.
Tools Recommended: Shims, 4-foot level, 2.5-inch trim screws or finish nails, screwdriver or hammer
Step 8: Check the Door’s Operation
Once the door is in place, check for smooth operation by opening and closing it. You may need to adjust the center cap on the sill using a screwdriver. It should fit snugly, making it difficult to pull paper or a dollar bill out from under the door when closed.
Tools Recommended: Screwdriver, piece of paper or dollar bill
Step 9: Install Hardware
Now it’s time to install your lockset and deadbolt according to the manufacturer’s specifications.
Step 10: Trim and Insulate
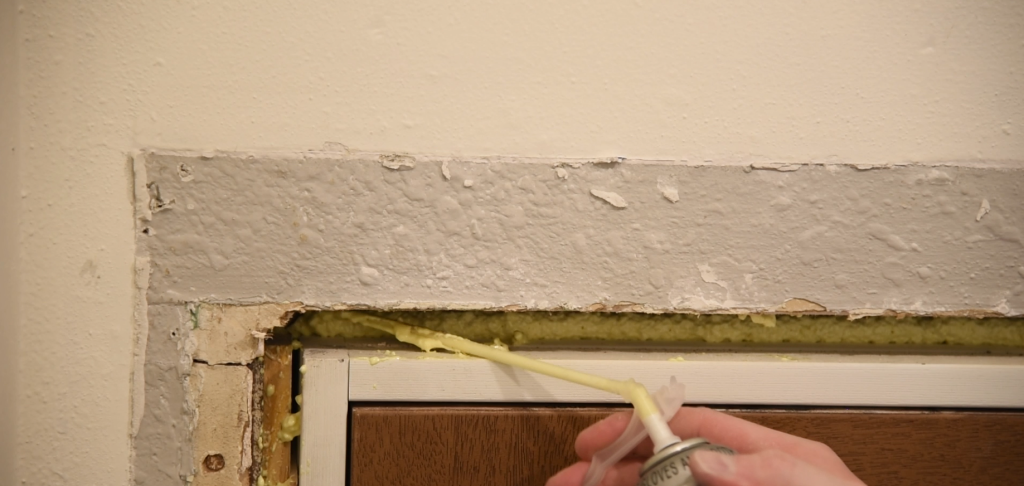
To finish up the installation, score and snap any protruding shims to make them even with the jamb. Next, install the exterior trim. Inside, use a conservative amount of door and window foam to fill the gap between the jamb and the stud, then proceed to install the interior trim.
Tools Recommended: Utility knife, exterior and interior trim, wood saw, punch, framers hammer, framing square, finish nails, door and window foam, safety mask (recommended)
Step 11: Weatherproof
Weatherproofing is a crucial final step. Apply caulk around the entire outside of the door where the exterior trim meets the jamb and the wall. Don’t forget to caulk where the sill meets the jamb and slab and install wedge pads at the bottom of both sides of the frame.
Tools Recommended: Caulking gun, silicone caulk, wedge pads (provided with your door)
Step 12: Finishing Touches
Finally, finish the primed jamb with your choice of exterior paint or stain to complete the look.
Tools Recommended: Paint brush, paint/stain of your choice
Warranty Tip: Install and finish your door within 60 days of receipt.
We hope this guide provides you with the confidence and knowledge to complete your installation successfully. At Steves Doors, we’re here to support you every step of the way, ensuring that your home looks its best with a brand-new entrance. Happy installing!
View the video guide here: https://www.youtube.com/watch?v=5pj3hCW4cTw
Full List of Tools
Supplied:
- Instruction manual
- (2) 2.5” screws (for slab re-enforcement)
- Insulation wedge pads
Not Supplied:
- Tape measure
- Drill gun with multiple drill bits and screw bits
- Pry bar
- Oscillating tool and/or Sawzall
- Safety glasses or goggles
- Broom
- 2-foot and 4-foot levels
- Putty knife
- Sill pan
- Caulking gun
- Silicone caulk
- Finishing nails or 2.5-inch trim screws
- Framers hammer
- Hacksaw or metal snips
- PVC cement
- Painter’s tape
- Composite or wood shims
- Screwdriver
- Paper or dollar bill
- Handle set and deadbolt
- Utility knife
- Exterior and interior trim pieces
- Safety mask
- Punch
- Fiberglass or low expansion window/door foam
- Framing square
- Wood saw
- Paint brush
- Exterior/interior grade paint or stain
